How to make a Cicada Sun Catcher

What you need:
Black or dark card
Cellophane - we used yellow and green
If you don’t have cellophane, try upcycling transparent food packaging.Tracing paper (baking paper works well)
Glitter glue (gold or green)
Sequins (green)
Six small red sequins or beads (for the extra eyes/ocelli)
String or fishing line
Scissors and/or craft knife
Glue stick
Double-sided tape
Paper, pencil and thick felt pen
Self-adhesive clear book wrap or clear tape
How to make the body…
Using a picture of a cicada for reference (there are lots online) draw a pencil sketch of a basic cicada body (without its wings) on a piece of paper.
Pay attention to the biggest shapes on the cicada’s body to create a simplified design.
Tip: We used a picture of a Chorus Cicada.With a fat felt tip or marker pen give your final drawing bold thick lines - at least 1 cm wide.
Trace your design onto a black piece of card and cut it out.
Next, get an adult to help you to cut out the shapes on the inside using a craft knife.
Repeat the above step to create a second cicada cut out.
How to decorate your suncatcher…
Draw and cut out shapes from the cellophane that will fit onto the body of your cicada.
Glue your cellophane shapes to one of the cicada bodies creating windows of colour.
Repeat the above two steps with the second cellophane colour.
Glue both of the cicada bodies together, sandwiching in a few sequins in between them.
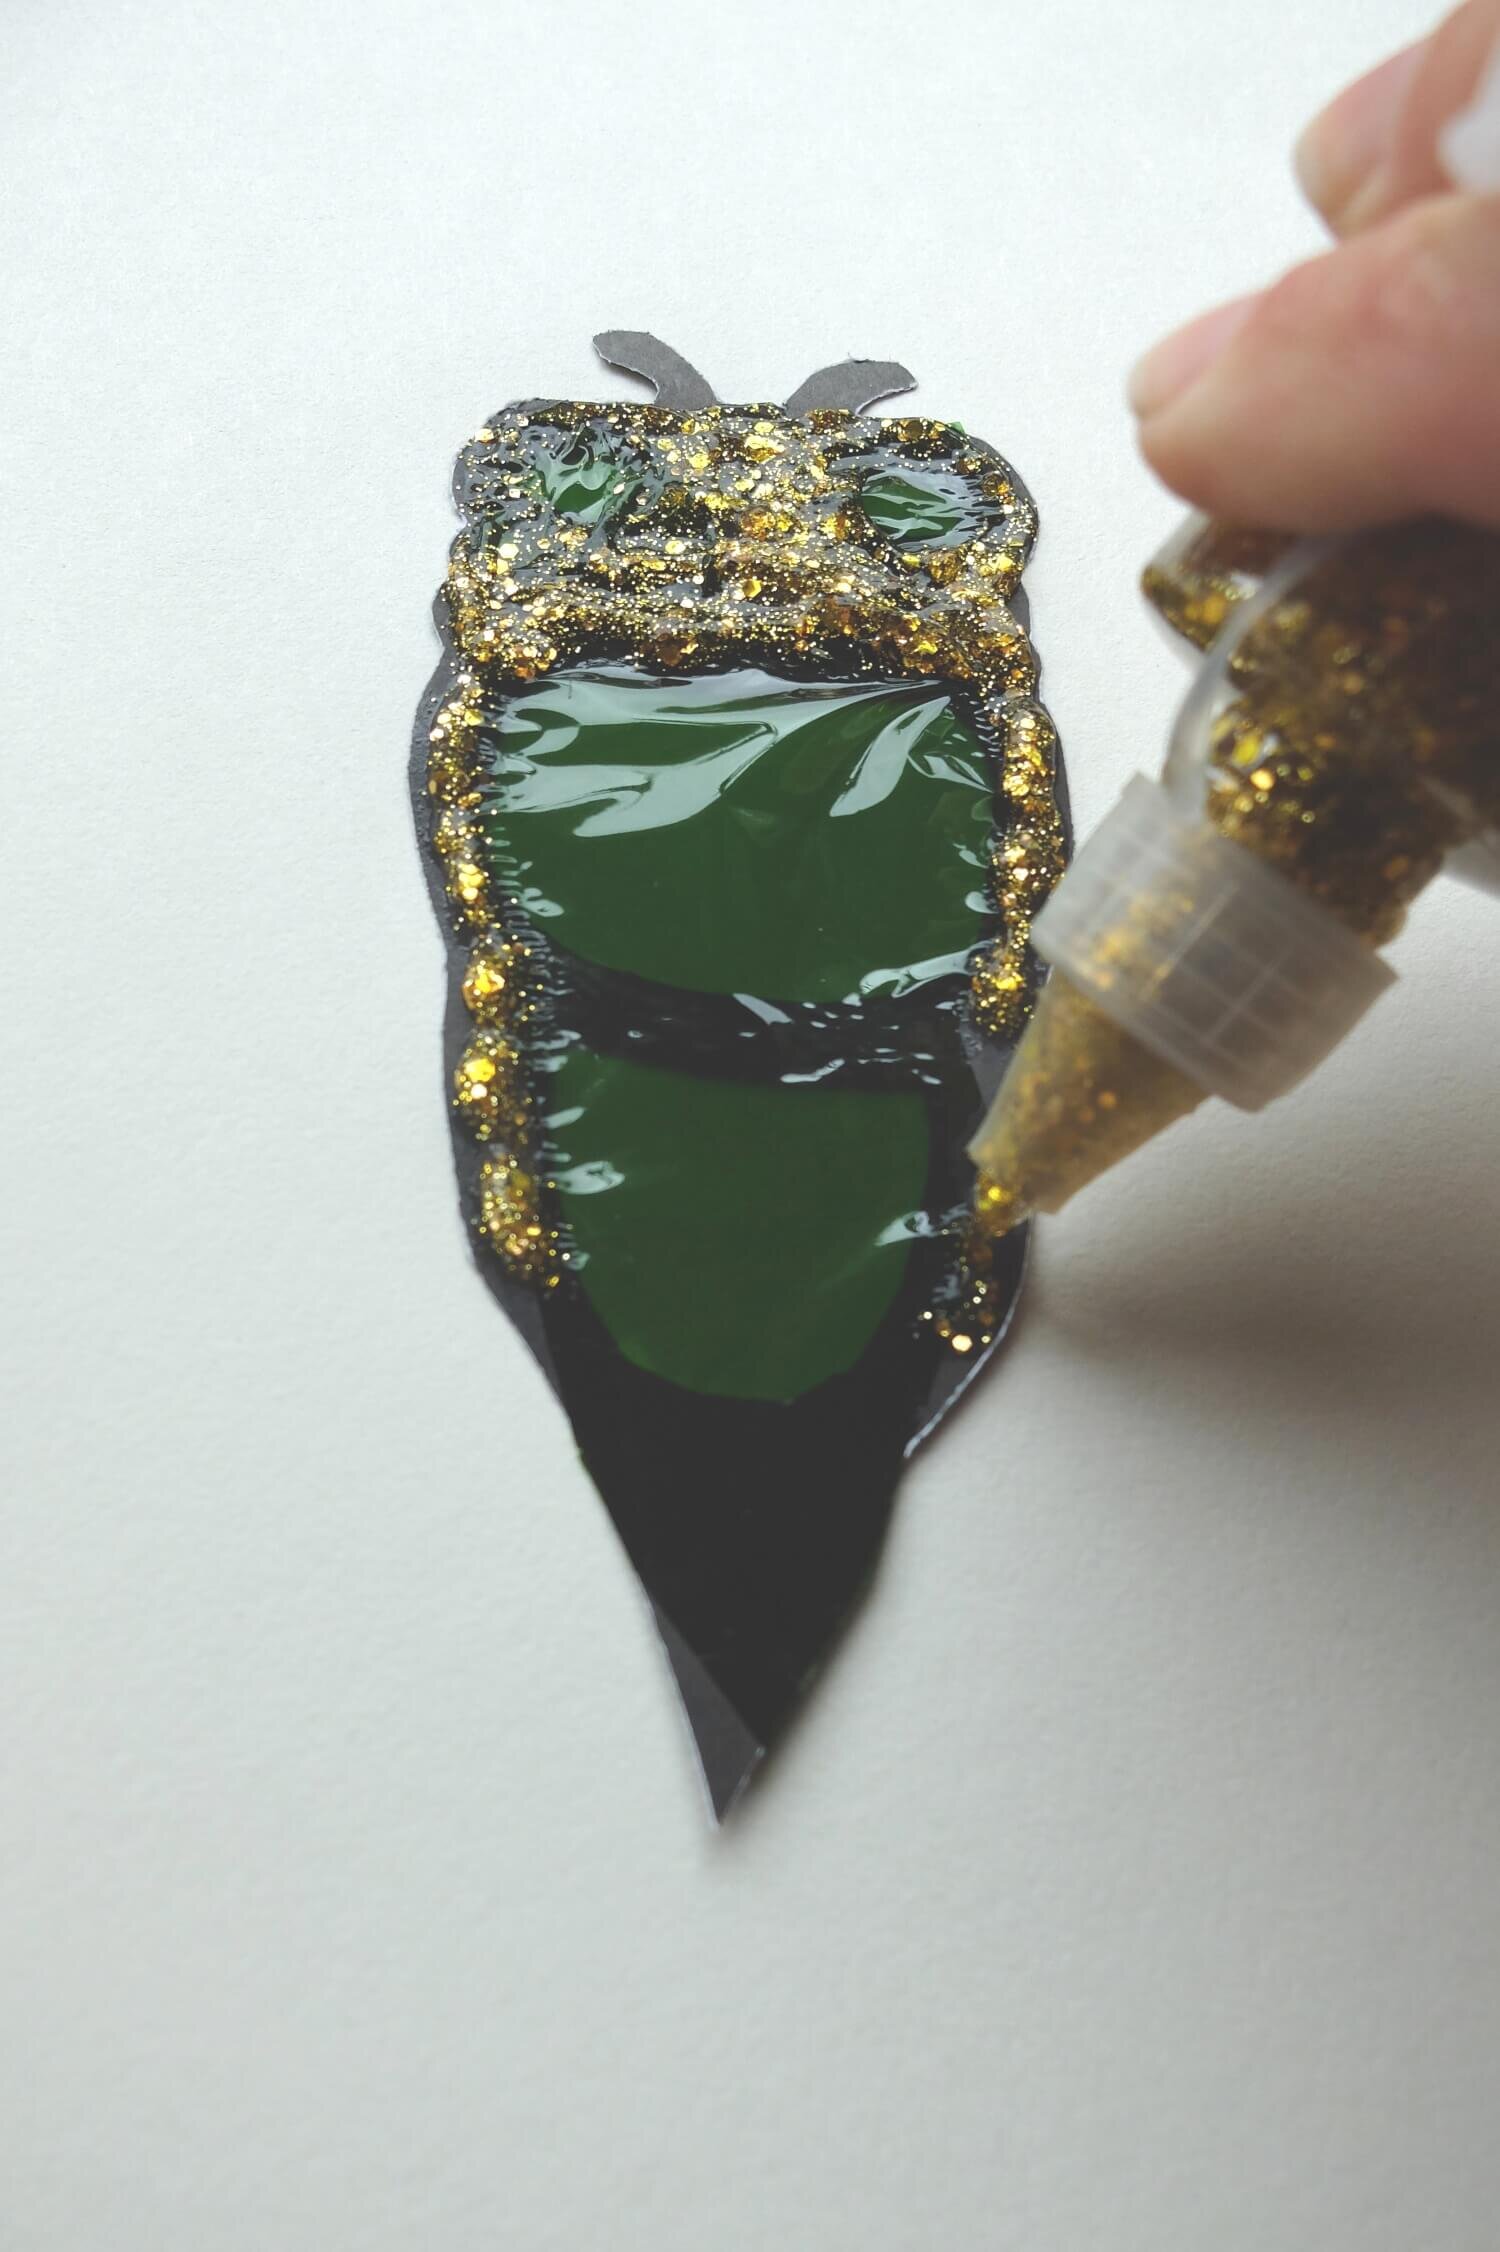
Decorate one side of the body of the cicada with gold glitter glue and leave to dry.
How to make the cicada wings…
Draw your Cicada wings in the same way you have drawn the body by sketching, outlining with thick pen and then cutting out the design.
When you have the wing design cut outs you can sandwich them between rectangles of the self adhesive book cover sheets.
The sticky side of the sheets can be decorated with glitter glue and should face inward as they are stuck together.Snip off the excess bookwrap to reveal two beautiful wings.
Use double sided tape to stick the wings to the un-glittered side of the body, just under the head.
Adding the eyes and final decorations…
Add green sequins to the eyes (we used two per eye), and decorate the rest of the cicada body with gold glitter glue. Them, leave to dry.
Extra eyes:
You could use three small red sequins to add in extra ‘eyes’ which are known as ocelli.
Chorus Cicadas have three small ‘jewel-like’ red eyes between their large compound eyes.
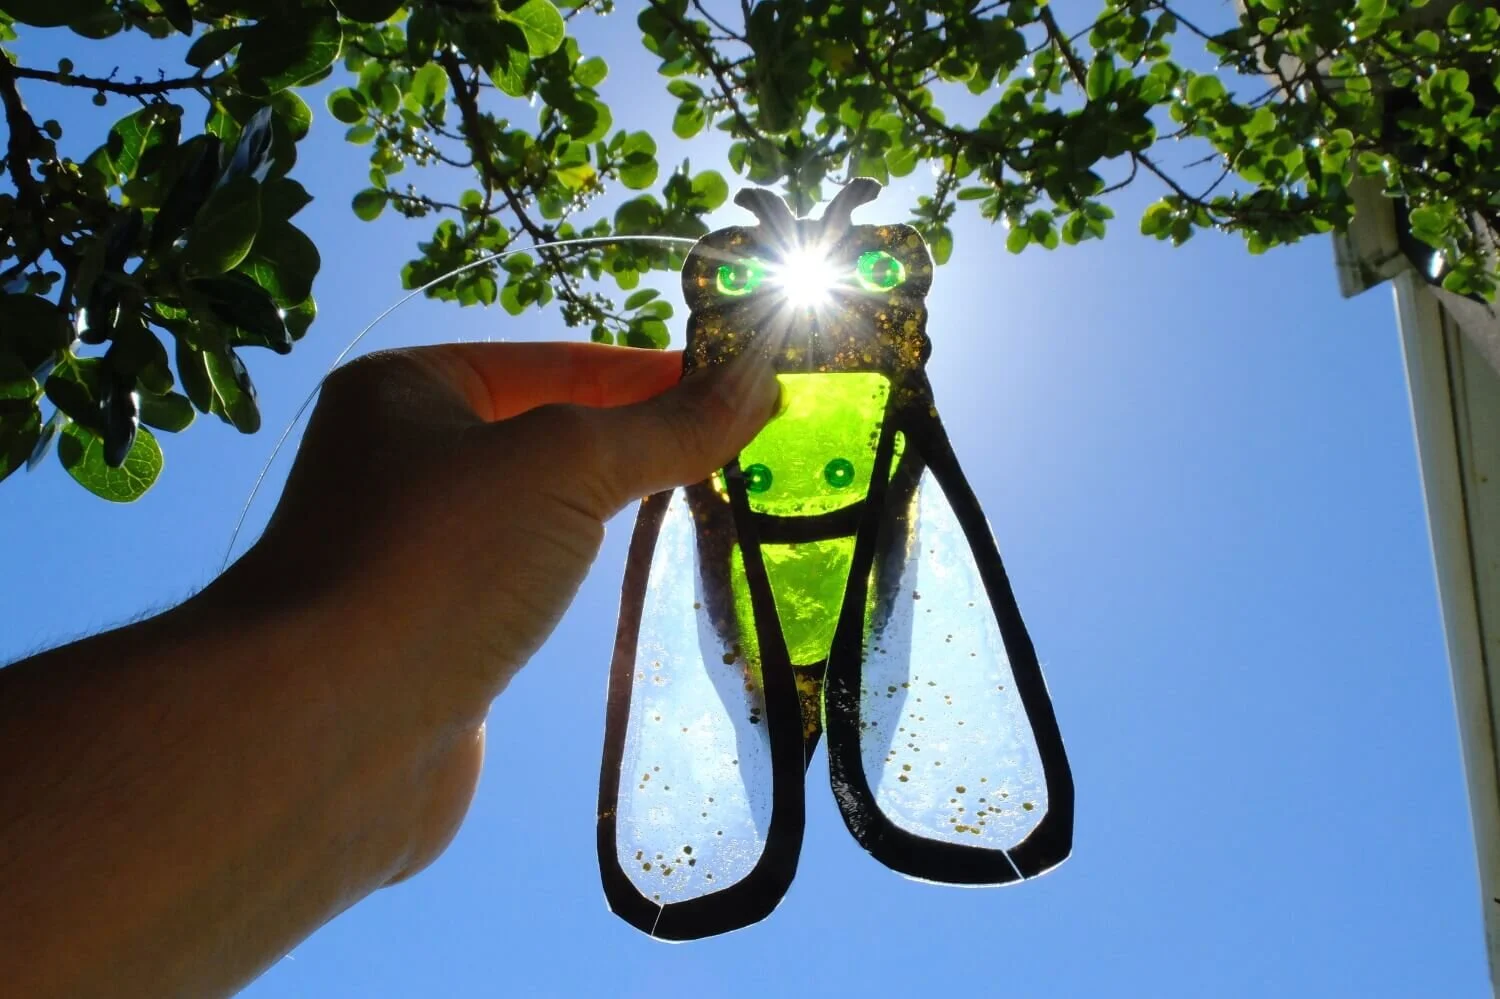
How to display your suncatcher…
When the cicada is dry on both sides make a small hole in its head with a pin and thread fishing line or string through it. Choose a sunny window and hang your sun catcher in it to enjoy your colourful creation each day.


Extra cicada craft ideas for experts…
WARNING: Lots of patience and time required!
If you enjoy cutting and sticking challenges, then this more intricate Cicada might be for you.
Draw your design on paper in bold lines approximately 1cm thick.
Fold a piece of card in two.
Use your drawing as a stencil and cut out all the inner shapes – cutting through both layers of card at the same time.
Stick pieces of coloured cellophane on the inside of the card and seal your card shut.
Did you give it a go?
Send us a photo of your Cicada Sun Catcher and you might find your creation featured in a future issue of Upstart magazine… AND win a prize!