How to Make an Easter Basket

What you need:
Two sheets of card (of different colours)
If you don’t have two different card colours, why not colour your own?Scissors
Masking tape
Ruler
Pencil
Stapler
Glue gun (or glue stick)
Ribbons and stickers for decoration (optional)
What to do
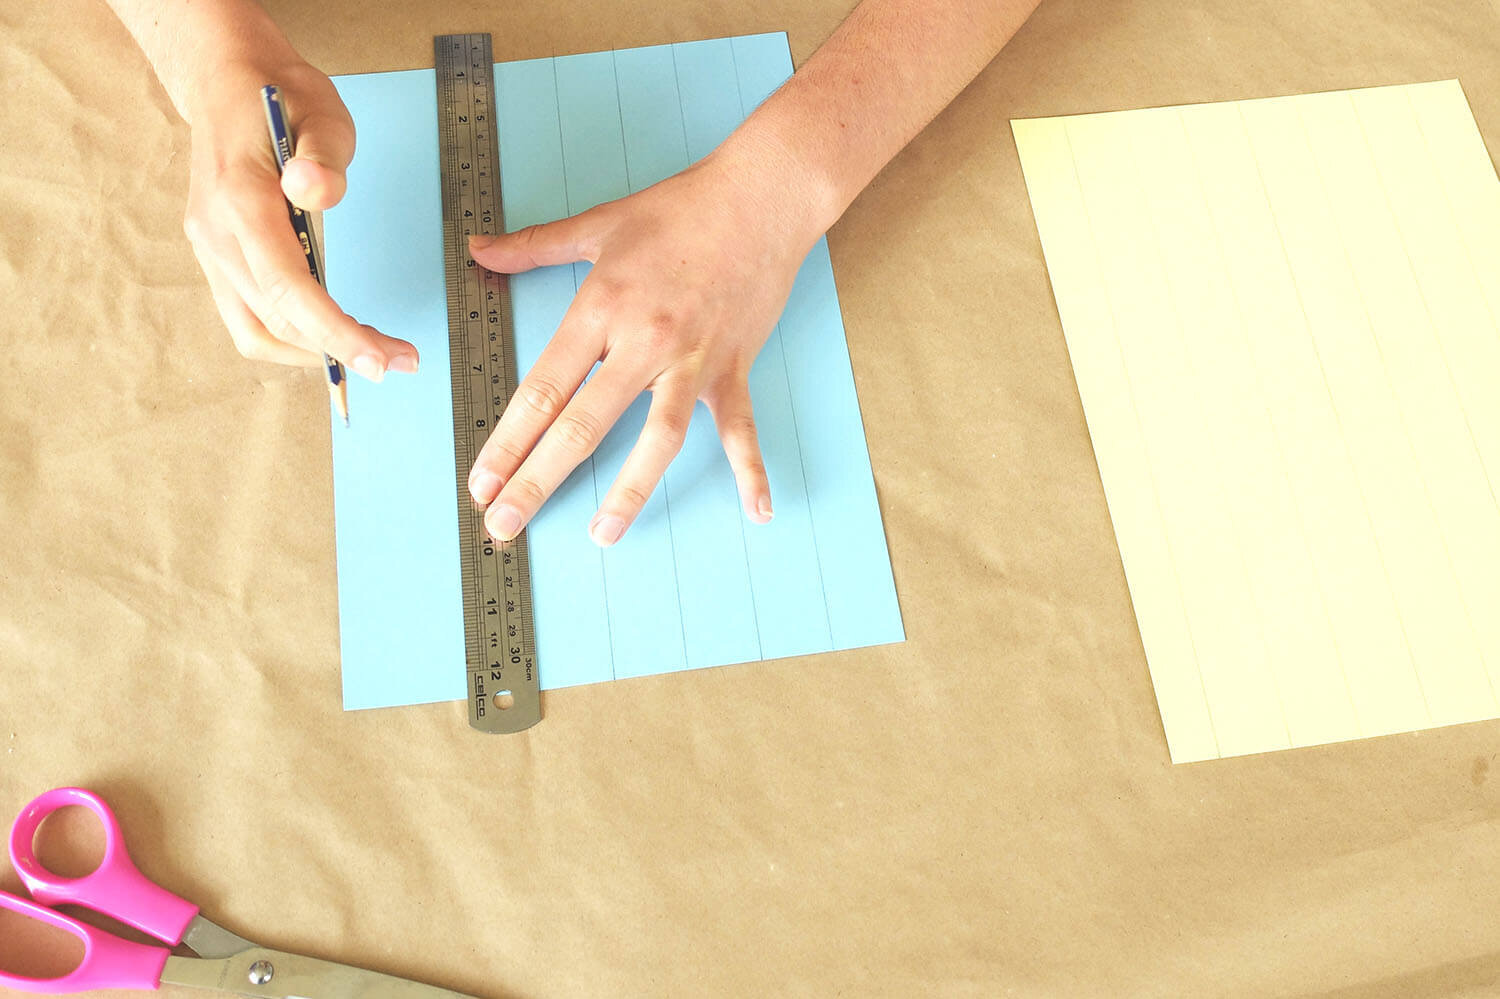
Draw straight vertical lines a rulers width apart from each other on both of your sheets of card.
Using the lines as a guide, cut out long strips of card.
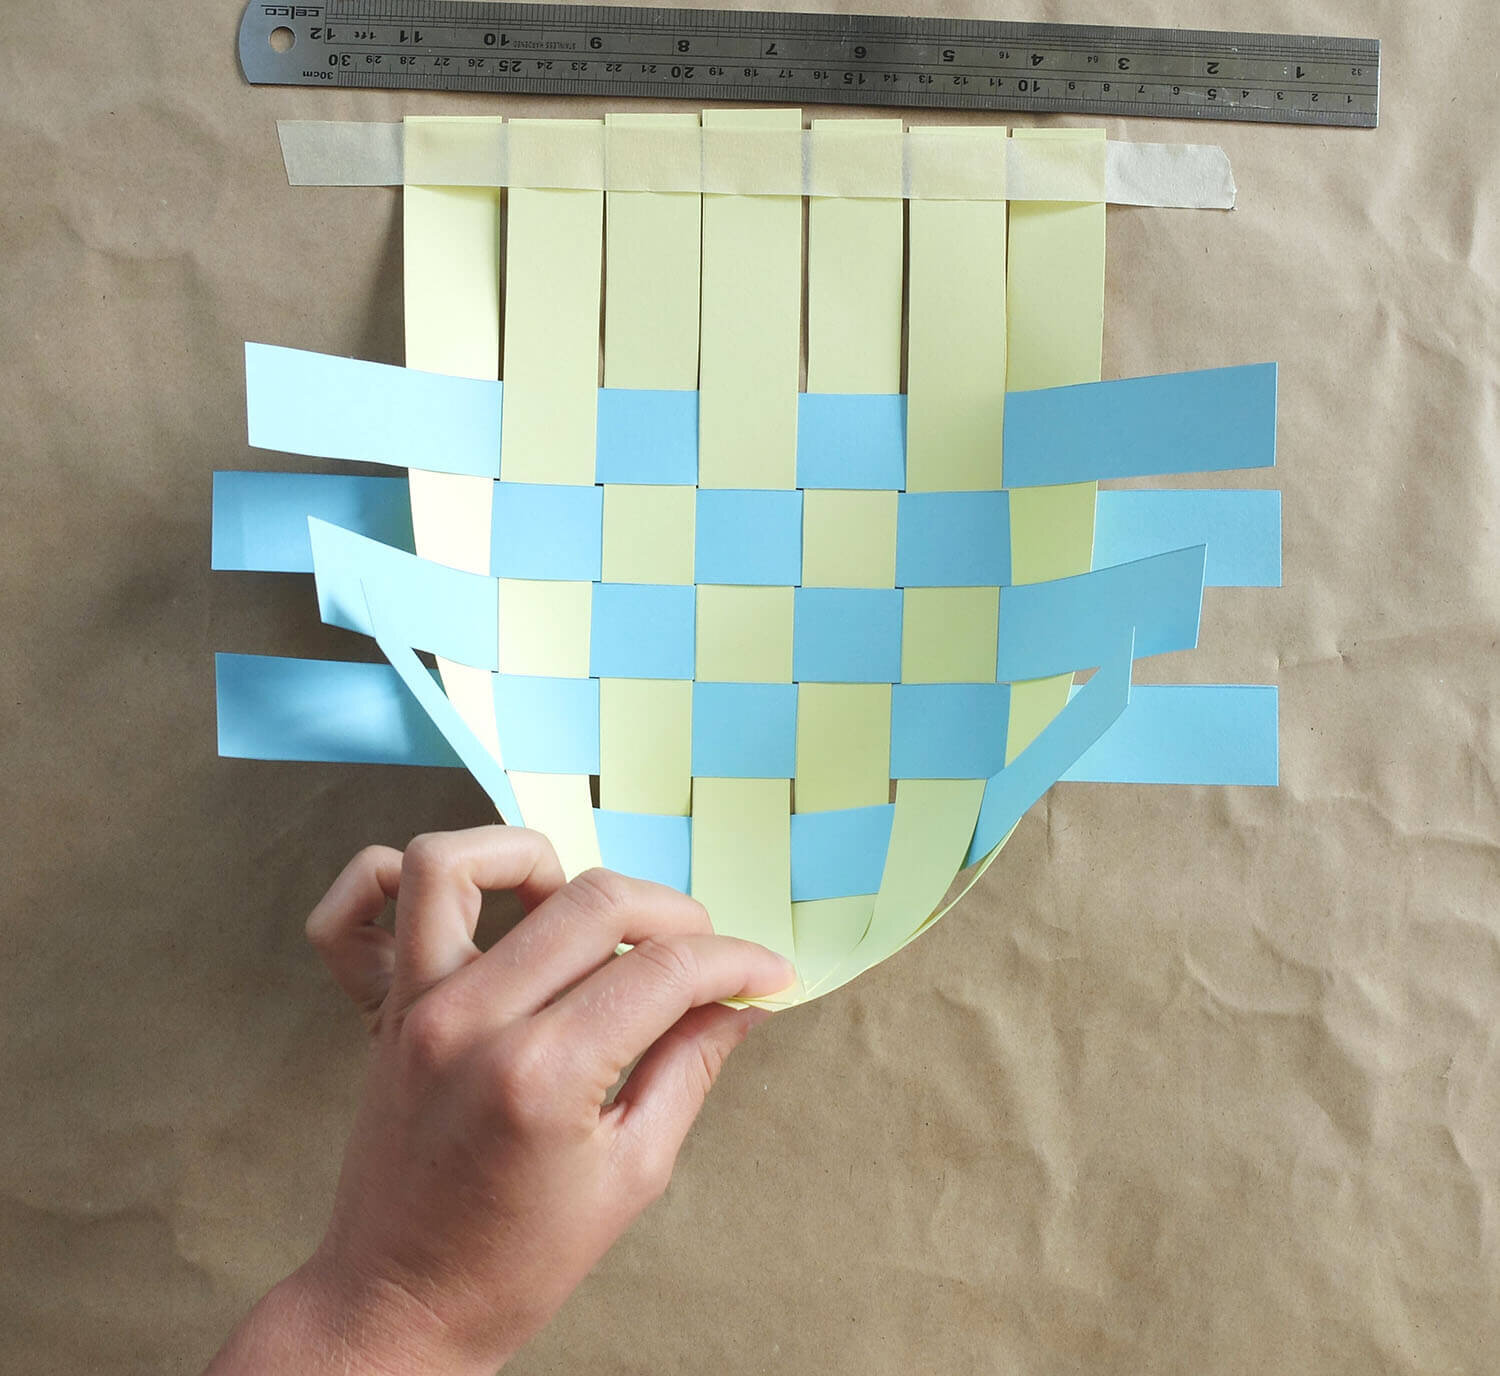
Lay all the strips of one colour next to each other and stick them to the table with one strip of masking tape at one end.
One piece at a time, weave the other strips of card under and over from one side to the other, creating a central woven square.
Your strips should extend from your square by about 8cm.
If they don’t extend far enough simply remove a few outer strips.
Gather together the extended strips at the bottom and staple them to create one curved end of your basket.
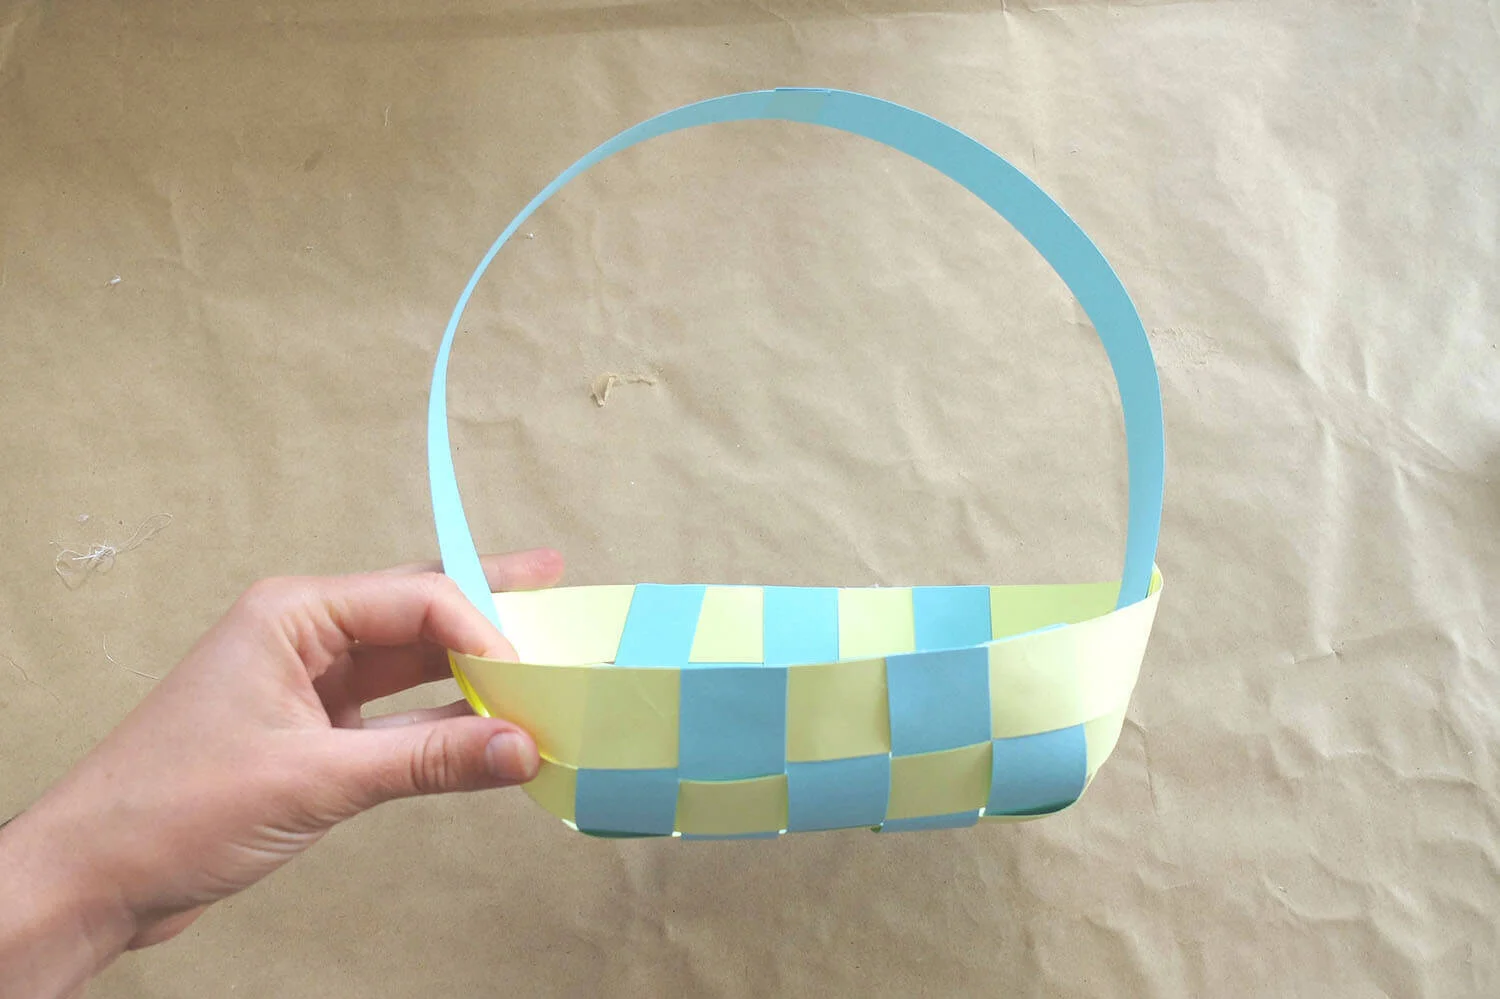
Glue down any loose strips on each side of your basket.
Remove the tape, bring the last strips at the top together and staple them in place, like you did with the strips at the bottom.
Chop off the excess of the strips on the two sides of your basket.
Glue a handle in place with two of the un-used strips.
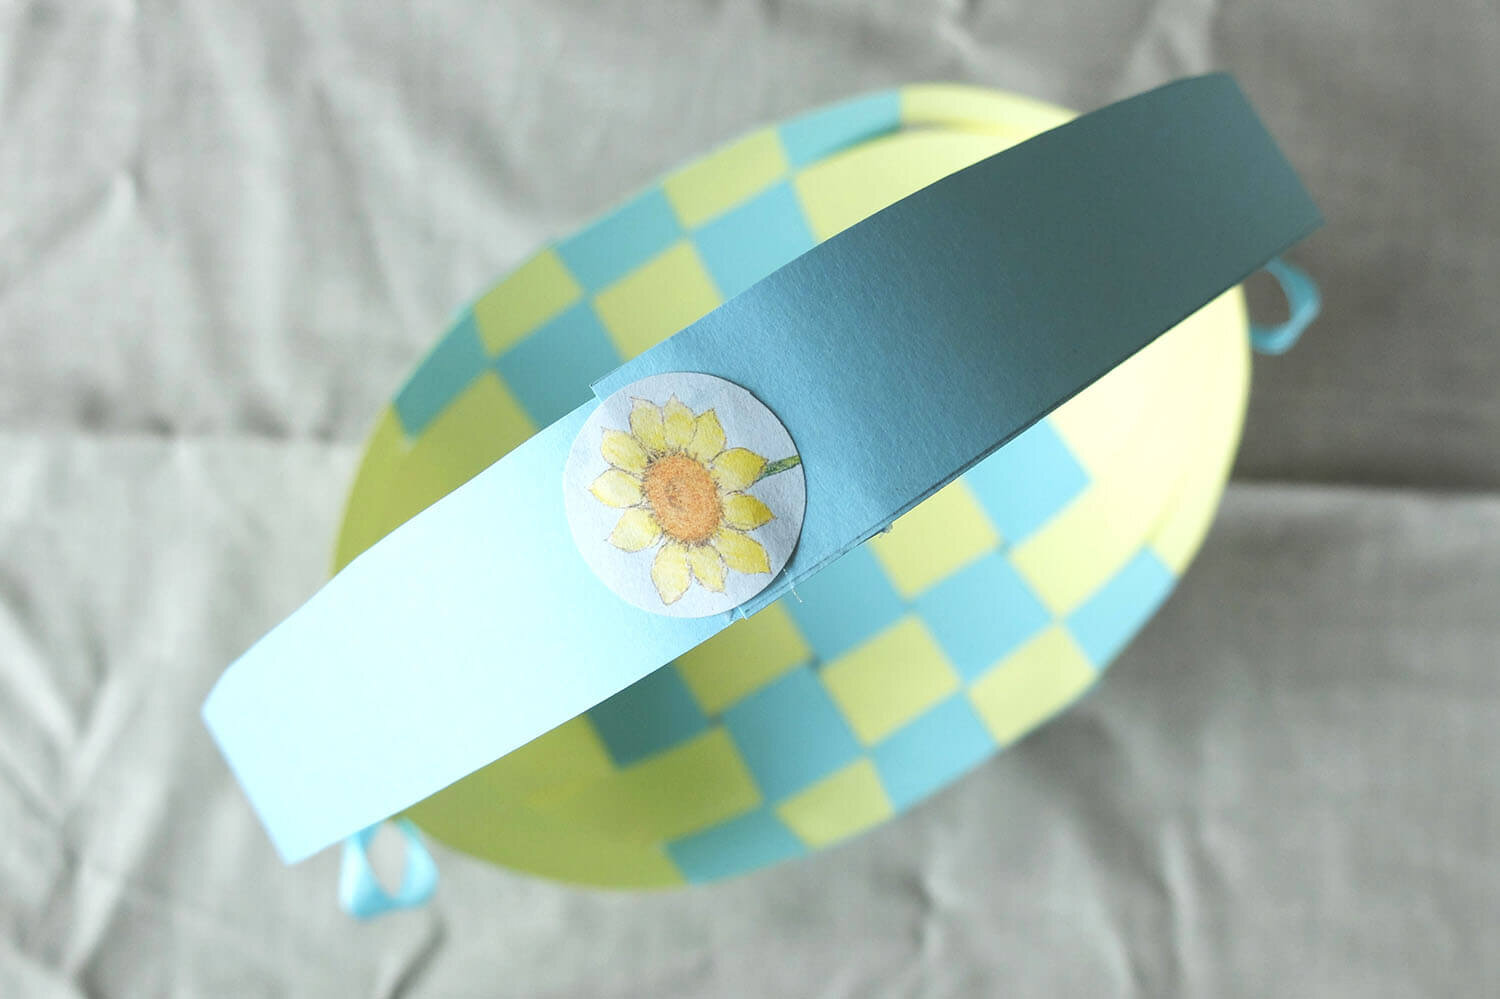
Add ribbons and other decorations to your basket
Did you give it a go?
Did you try making your own Easter basket?
Send us a photo of your creation and you’ll go into the draw to win a mystery “Upstart DIYer” prizes.