Homemade Bath Bombs
Homemade gifts are far more meaningful to those you love than store-bought ones. Make your own bath bombs as gifts for your friends and family and learn about the science behind your baths, while you’re at it!

What you need:
1 1/2 cups baking soda
1/2 cup citric acid powder
A sieve
Herbal teabags
We used raspberry, but peppermint, chamomile, or lemon would also suit.An essential oil
We used lavenderSweet almond oil
This is available from chemists but can be substituted with vegetable oil, if necessary.Food colouring
Rubber gloves
A silicone muffin tray
Dried rose petals or potpourri (optional)
Quantities make approximately FOUR bath bombs
What to do:
In a medium bowl, sieve the baking soda and citric acid together. This will create the bath bomb base mixture for approximately four bath bombs.
To make one bath bomb, scoop a 1/2 cup of the base mixture into another medium bowl. Then, add the contents of a herbal tea bag and any other dry ingredients you would like to add to this bath bomb (e.g. dried rose petals, etc.).
In a small bowl, mix together 6 drops of your chosen essential oil, 1/2 teaspoon of sweet almond oil and 4 - 8 drops of food colouring (depending on how strong you would like the colour to be). This is your scent mixture for one bath bomb.
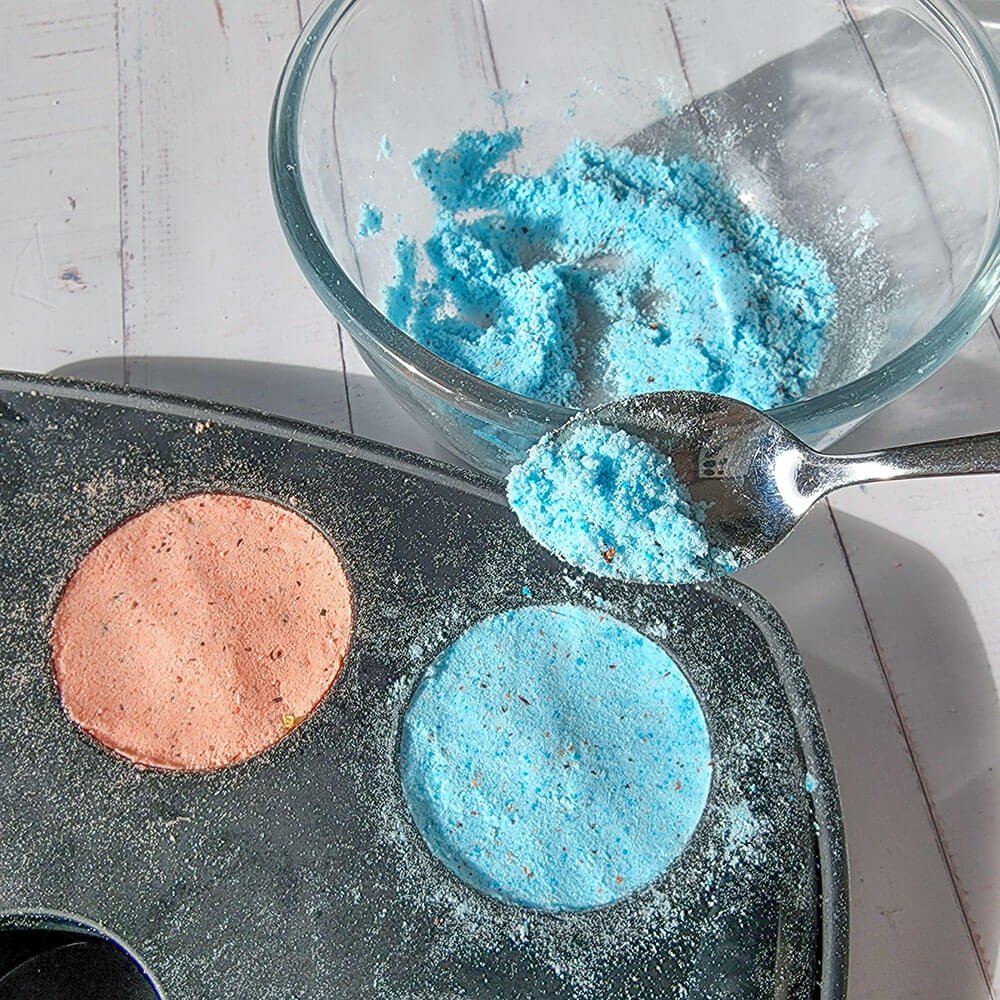
Put your gloves on and pour the scent mixture into the 1/2 cup base mixture and stir quickly with a teaspoon.
Note: If you don’t stir fast enough the mixture will start to fizz.Next, use your gloved hands to rub the mixture between your fingertips until it is fully combined and starts clumping together when pressed in your hands.
Important: you need to do this step with gloves on as concentrated essential oils can cause allergic reactions in some people until it is diluted in water. Combining the mixture between your gloved fingertips will more evenly distribute the liquids than if you try to use a spoon alone.Grease your silicone muffin tray with a little sweet almond oil to stop your bath bombs from sticking to the tray.
Fill one muffin tray hole with the bath bomb mixture and press down firmly with a spoon (or your gloved fingers) to ensure it is firmly packed.
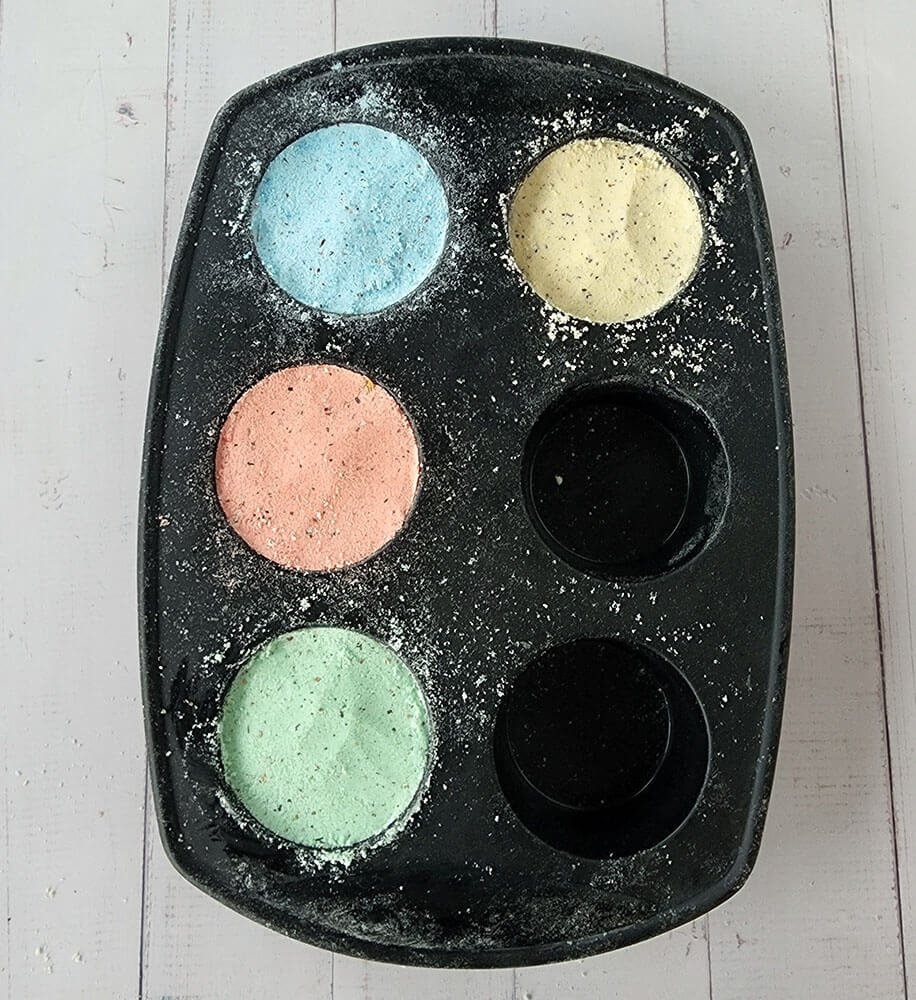
Note: set any leftover mixture aside. We used our leftovers to make rainbow-coloured bath bombs.Repeat steps 2 - 7 to make the other bath bombs using the remaining base mixture (working with 1/2 cup mixture at a time) and combining this with different essential oils, herbal tea bags and food colouring.
Leave the bath bombs in the muffin tray to set for at least 36 hours.
Once your bath bombs have set, turn the muffin tray over and gently ease each bath bomb out onto a flat surface.
Try presenting your bath bombs in cellophane bags (sealed with pretty ribbons) or in a small basket to those you love as memorable gifts!
The science behind your bath…
When a bath bomb comes in contact with hot water, the baking soda and citric acid undergo a chemical reaction. This reaction produces lots of carbon dioxide bubbles, which you see as the bath bomb dissolves.
This is called an acid-base reaction with the baking soda (also called sodium bicarbonate) being a weak base and the citric acid being a weak acid.
Extra experiments to try
Try dropping a bath bomb into hot (but not scalding) water and another into cold water. Now time how long it takes the bath bomb to dissolve. What did you observe?
Try making larger and smaller bath bombs. What difference does size make to the length of time they take to dissolve?
Instead of using citric acid, try making your bath bombs using a substitute such as cream of tartar. How do those bath bombs compare to those made using citric acid?


Did you give it a go?
Send us a photo of your Homemade Bath Bombs and you might find your creation featured on the Upstart website… AND win a prize!